Table of Contents
Creating new data model with Data Model Editor
This article will guide you through all steps necessary to create your first data model based on your database.
1. Run Data Model Editor (DME)
Of course it's an obvious step but it may cause some difficulties as well. If you already downloaded and installed EasyQuery (both trial or full version) then DME is already installed on your computer. For Windows 7 and earlier versions you can find it through Start menu: Start | All Programs | Korzh EasyQuery | Data Model Editor. For Windows 8 just open Start screen and start to type “Data Model Editor”.
2. Create new model and establish a database connection
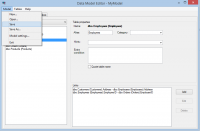
- Use “Model | New..” menu item
- Type the name of your model (e.g. “MyModel”)
- Choose the type of database connection (e.g. “MS SQL Server (native)”)
- Enter the connection string. You can use “Build connection string” to construct the connection string visually.
- Test your database connection using “Test connection” button.
- Press OK to finish model creating
3. Fill the list of tables
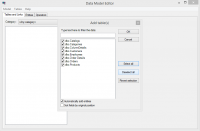
After pressing OK and closing the previous dialog you will be asked to add database tables into your model. Click “Yes” to agree and the Select Tables dialog will appear.
Select the tables you want to add into your model (select all of them if you don't have any limitations) and press OK to add them.
4. Establish the link between tables
DME will offer you to add the links automatically using information about foreign keys or (if foreign keys are not defined in you DB) a special algorithm which search for field pairs in all added tables (e.g. table1.customerID → table2.customerID). Select “Yes” to start that process. When it is finished you can check added links for each table in “Links” list box.

